Wednesday, June 21, 2023


     This past weekend, I got to go to a flow-arts festival in Kentucky USA called PlayThink. This is my 3rd year, and it's always a blast. I had my synthesizer there, and allowed children and adults to play with it unsupervised without limit AND???? on the second day it broke. That's okay, I expected it to break much earlier, and also the malfunction is minor (power short, the power supplies just keep tripping).

    "Children, you say!??" Yes! PlayThink is a sober festival, family-friendly, people bring their whole families with children of all ages. I danced and danced and danced, some of the time with a six-month-old baby (wearing active-noise-cancelling over-ear hearing protection) who was on their mother's back. What's up Anna, it was great dancing with you and your tiny baby haha

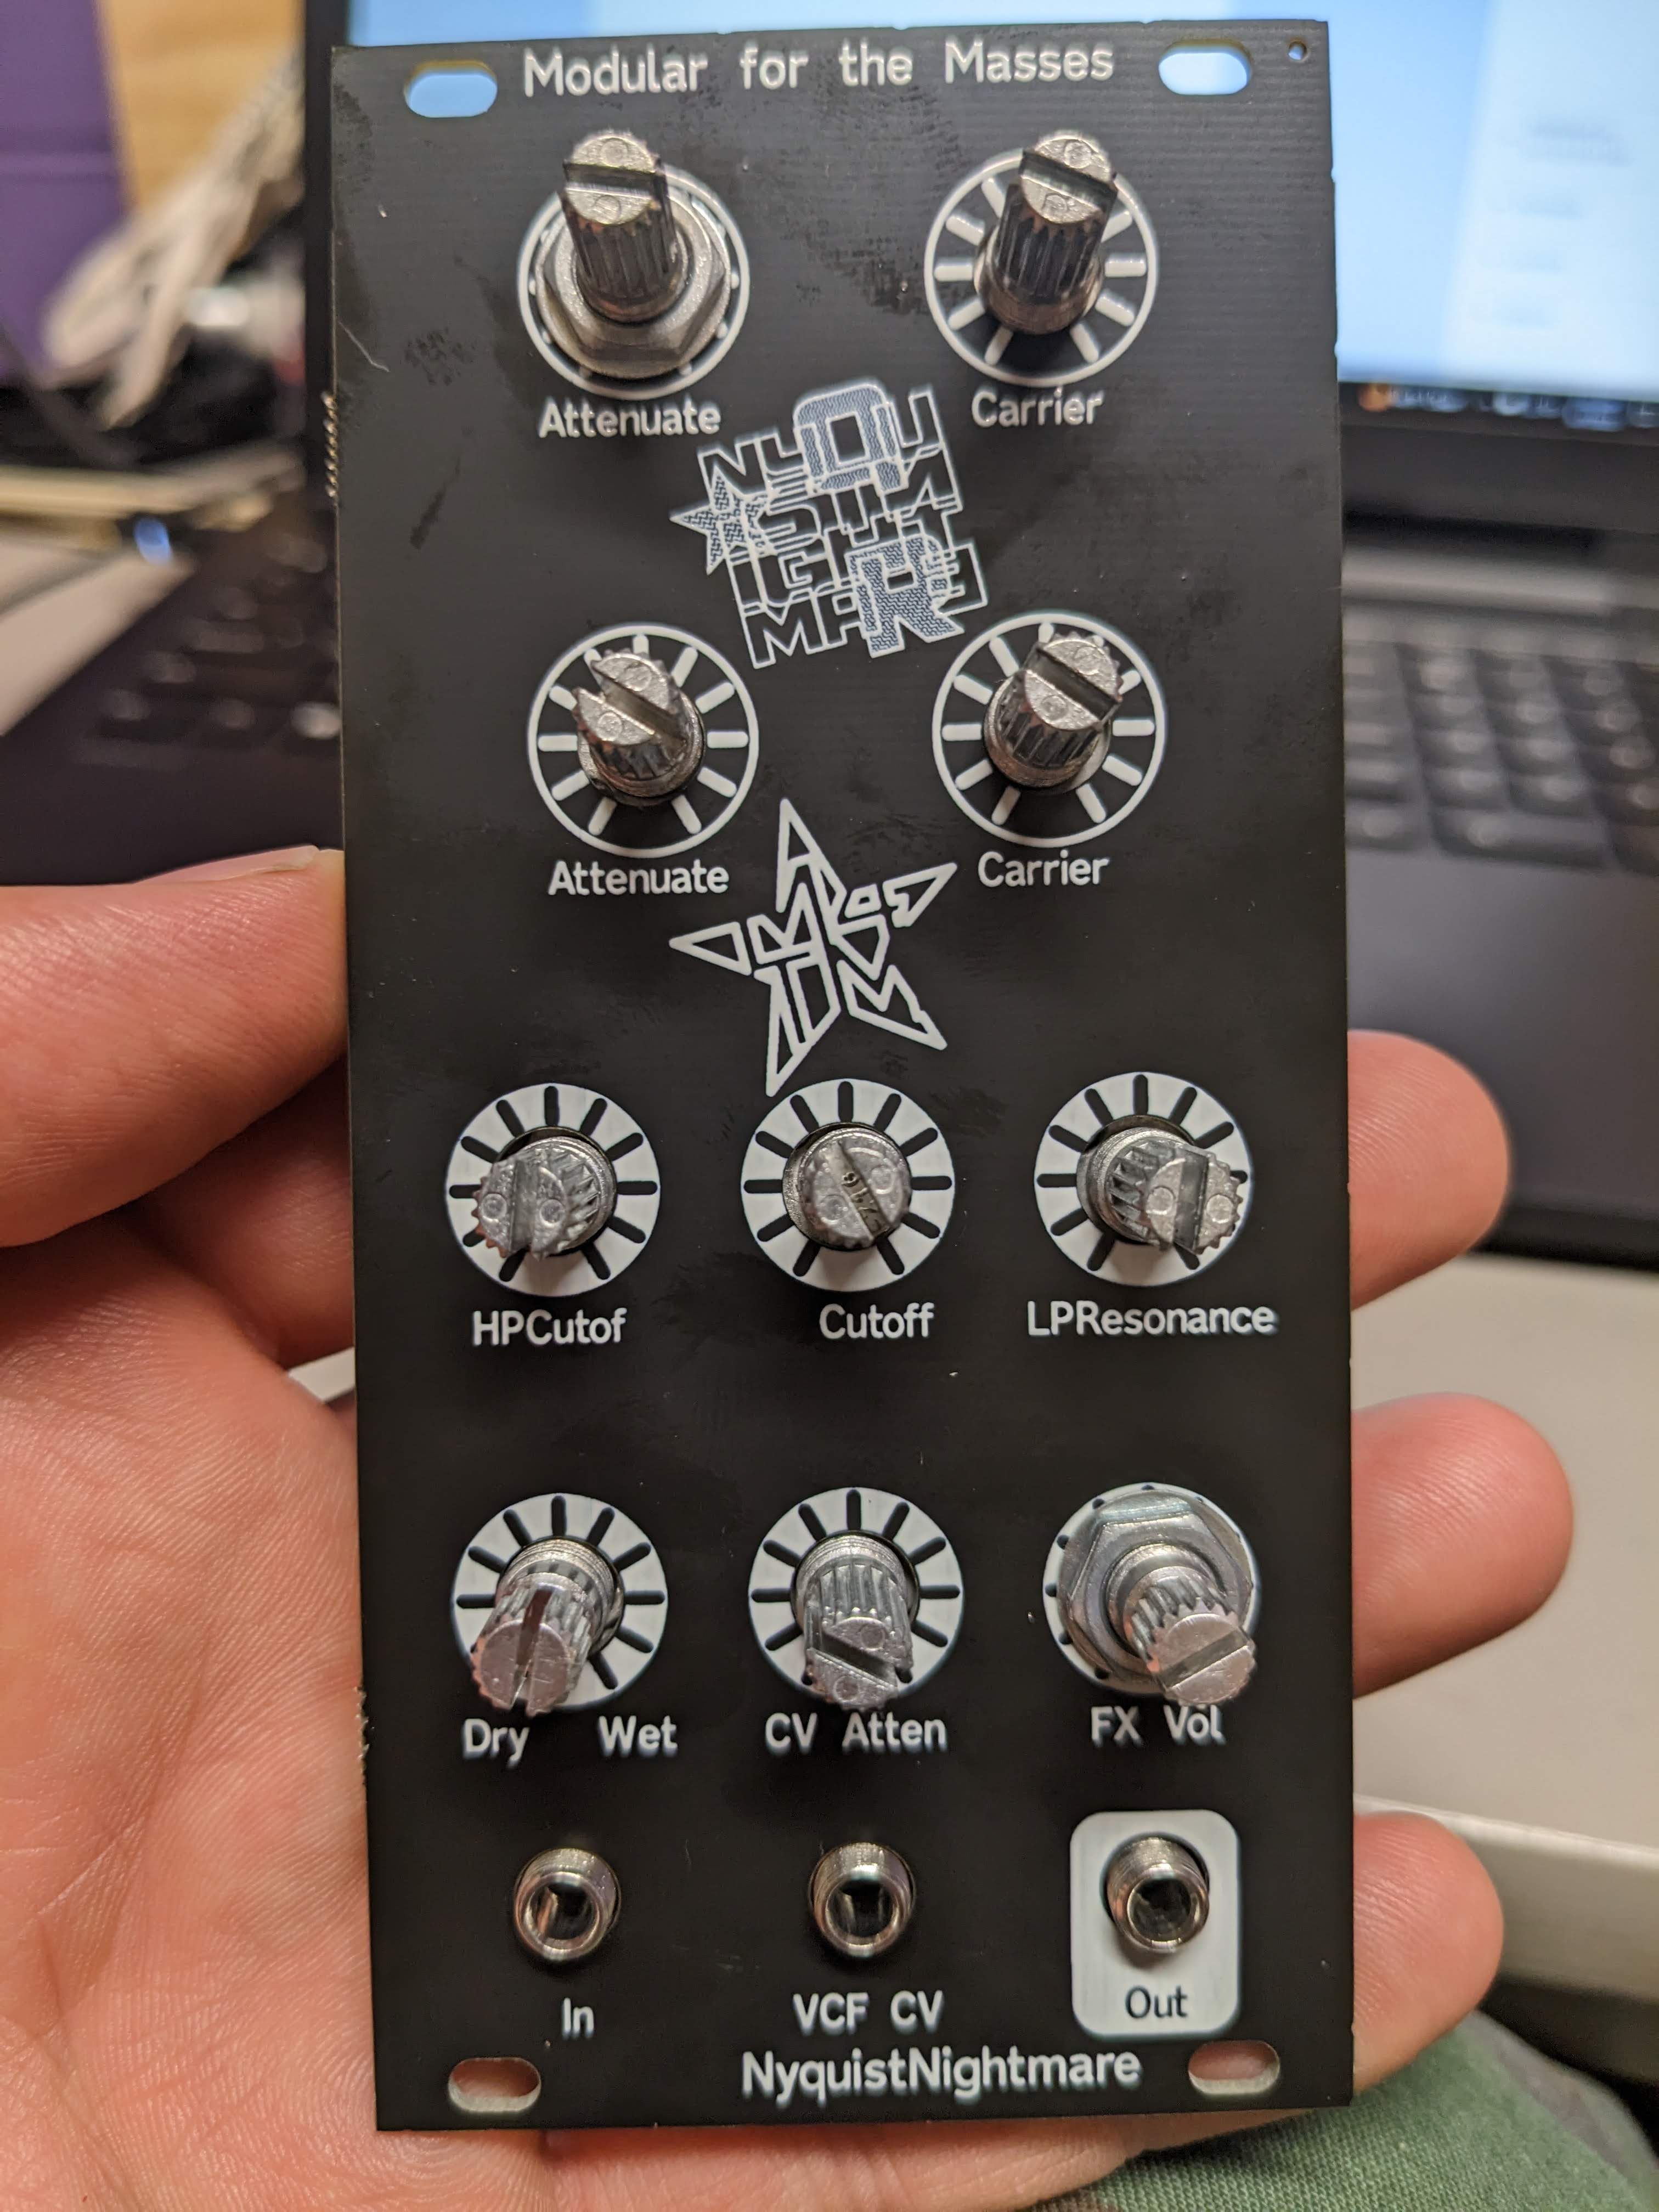
    Hello Kitty Furiosa (my tin can synth in the picture) attracted lots of attention, even while broken. I got to pass out a bunch of 808 kick drum SynthCards (people love those!!!) and talk at length about the theory and practice of playing and building synthesizers.

    The back of my synth is a total chaos-nightmare of criss-crossing wires, using at least two color-code schemes. I'll snip it all off, and run straight, taught wires, three each of red, black, and green, and connect each module to the wires with the old split-insulation-wrap-wire-around-larger-wire-solder trick. I won't even need to put tape around the join since the taught wires will be holding everything in place. I will make a cardboard shield or something to keep patch cables from dangling and touching the power rails although even that would just make a POP noise if the patch cable were plugged in to anything, wouldn't hurt anything. Or trip the power supply, which would make a longer POP and erase whatever I was doing...

    ANYWAY, I'll pop a couple more pictures here of the festival. It was tons of fun, and I'm integrating the experience as well as one might expect.


This is my daughter Katrina. The hat, which she made, lights up.


Wednesday, June 7, 2023

NYQUISTNIGHTMARE finally done


Okay, the NyquistNightmare module is probably my most favorite module. It was born out of a desire to get AM radio-like noises out of a module, to introduce aliasing, combing, weird cross-modulations, all these weird noises into a signal. I have a tin-can module that's pretty rough but captures the essence. I have my first PCB version, which the low-pass VCF locks up sometimes for no reason I can understand, a version with an onboard MantisLadder VCF that doesn't lock up but sounds too smooth for my taste (and the SMD capacitors in the ladder were too small electronically but at least large enough to solder four film caps to their edges...

    But my new version WORKS! This one uses a MS-20 style filter for the low-pass, using the LM13700 as the variable resistor and the Darlington buffers as the ... buffers. Instead of RenĂ© Schmitz's approach of using op amps as buffers, which is the MS-20 I build every single time I need a filter.

    The NyquistNightmare works like this: there's two voltage-controlled oscillators that can go from some low-ish frequency to way up high, maybe 80KHz, far above what we can hear. An audio signal frequency-modulates the frequency of the first VCO through an attenuator. The resulting modulated signal (oscillating so fast it'll usually be ultrasonic) frequency-modulates the second VCO.

    I'm not exactly sure how this works... I can kind of picture it, with two modulated signals cross-cancelling each other out, allowing the original signal to be sort of audible. With very careful adjustment of the four relevant knobs (two knobs attenuating the modulating signals, two knobs controlling the pitch of the carrier signal), you can get a reasonably good version of the original signal out.

    The cross-modulated signal can be extremely harsh, extremely rumbly, and very very quiet. So there's extra stuff in the signal chain. First there's a high-pass filter to quiet down the LIGHTNING THUNDER BOOOOM sounds that can come out of the first part. Then there's a low-pass filter to squelch the very piercing and constant squeal-whine.

    To address the extreme quiet part, I tossed in two "CinderBlock" circuits, which are auto-gain circuits that act like a really fast mostly not-noticeable compressors that can turn up very quiet signals. Two of those babies.

    Finally, there's an LED clipper part that is designed to limit the signal when there's giant voltage spikes. You know, to protect our ears.

    There's a wet/dry knob so you can hear what signal you're even putting into the module, and a effect volume knob... which on my prototype I switched, confusing me until I traced my error down on the PCB ha ha.

    I'm excited to have a version of this module that I'm happy with! It's one I'm going to have available to build at Knobcon 11 (early September of 2023). It's a rewarding module to play with, even when your input signal is a boring 220Hz sine wave. Something about the signal processing reminds me of what a rubber band does in one of those balsa stick airplane toys, where the rubber band will knot up. On the oscilloscope, the 220Hz sine will suddenly flip on itself, then sections will flip again, until the "knots" get closer and the smooth sine parts get shorter... and the sound is pretty neat. I made a TikTok demo real quick haha kids these days

Tuesday, May 30, 2023

Using a pair of LEDs to pass an audio signal!!??!?


    Put current through an LED and get light.

    Put light into an LED get current!?!!?? Turns out, YES, you can do that! This silly little circuit works as a kinda gnarly distortion circuit. I tossed it together on an impulse, and it worked much much better than the one other time I tried it.

    If you feel like duplicating my work, be sure to decouple your op amp with a 100uF capacitor, seal the pairs of LEDs in some sort of light-proof substance (heatshrink is amazing for this), and you know what? Probably add a ground-reference resistor from the 2nd op amp + input to ground. Maybe 470K. This circuit had a few volts positive offset, which would make sense since I used a TL074. Or maybe ground the + input and wire the potentiometer as a variable resistor... but make it a 1Megohm potentiometer?

    Just an idea or two.

Friday, May 26, 2023

Synthcard VCF

    Okay, I'm designing my SynthCard PCB, and I need a landing page for people who want to build theirs.

    This is a low-pass VCF based generally on an MS-20 filter. The general idea is that it's got two poles for a nice smooth 12dB response. It uses a dual OTA (LM13700) as the resistive elements, and the built-in buffers. Like the MS-20, the feedback circuit, which gives this filter resonance, uses clipping LEDs to get the characteristic growl of this kind of filter. It's designed to work with 12 volts, but will work okay lower, and just fine up to 30 volts, but thirty volts is higher than the SynthCard standard allows so be careful :D

    Make sure you're putting the TL074 and LM13700 chips in correctly -- they're not facing the same way.

    You can use Thonkiconn-style jacks if you want for Eurorack-style patch cables. There's a little pad right next to each Thonkiconn footprint if you'd rather use pins. You can use SynthCard CornerBricks (print them yourself or get them from me) along with DIP-8 spring-type sockets as a way to pass power along all your SynthCards. Remember, the pins for power go in the "back" of the SynthCard if you're gonna use CornerBricks.

    Okay, shoot me an email or find me wherever to ask questions!

    Huge thanks to Benjie Jiao who created the first SynthCard that I'm aware of. He made a business card that could be built into an oscillator based on the Atari Punk Console. We've worked on a standard, which this design probably complies with LOL

Thursday, May 25, 2023

     Hi, I'm Juanito, the guy behind the tiny one-person (me!) synthesizer outfit called Modular for the Masses. My goal with this brand was to enable anybody with a small number of dollars to build themselves a sophisticated modular synthesizer.


    Tin cans, RCA jacks and cables, cheap uncased power supplies (or crazier, a couple power bricks taped together)... I built a large, heavy, sophisticated modular synthesizer out of old pallets, tin cans, reused Ethernet cable, and chips, potentiometers, jacks, LEDs, resistors, caps, Arduinos, switches... all the goodies I could find for Very Cheap on AliExpress.


    For whatever reason, only like two or three other people I know of ever started building tin can synthesizers, so in order to get my creations into the hands of more people, I finally started designing PCBs.


    These PCBs will need to be assembled, right? My favorite modules I've designed have some flexibility in their design, to let the builder create a unique example for themselves.


    So this here is the place where I'll put those build guides. Also, I have a much-neglected Squarespace storefront where you can buy modules from me, but for some reason, search engines have a hard time finding those, and an easier time finding Blogger sites.

DuckMixer NEW VERSION!

 I ran out of DuckMixer front panels! I'm not sure how -- did I order fewer panels than PCBs? Maybe? But because of that, I embarked on ...